 Several of my colleges asked me how you must set-up a Android development environment. So because after multiple requests I will explain how. Basically it is a matter of
- Check if your development environment meets the requirements.
- Download and install the Android SDK
- Install the Android Development Tools (ADT) within Eclipse.
- Set-up a device.
Check development environment
Before making your environment Android development ready, please check your current environment.
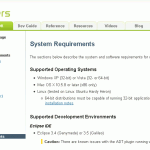
- Go to http://developer.android.com/sdk/requirements.html and ensure that your environment is Android ready.
- If you need the JDK (the JRE is not sufficient), download the latest from http://java.sun.com/javase/downloads/index.jsp and install it.
Install Android SDK
 So we are ready to install the Android SDK.
- Go to http://developer.android.com/index.html and click on the upper right image named Download
- Click the appropriate link to download the SDK for your host platform.
- Unzip the downloaded file to a directory (in my case c:\dev)
- You do not need to setup the SDK because we will use Eclipse to complete the set-up.
Install Android Development Tools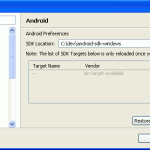
Now we are ready to configure Eclipse with de ADT plug-in.
- From within Eclipse select Install New Software from the Help menu.
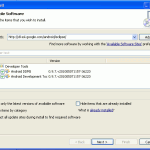
- Click on the Add button and enter the following URL into the Location field and click OK.https://dl-ssl.google.com/android/eclipse/
- Click the checkbox as shown in image, and then click Next.
- Complete the installation and restart Eclipse.
- Once Eclipse has restarted, you have one last task to perform: you need to tell Eclipse where the Android SDK is located.
- From within Eclipse select Preferences from the Window menu.
- Select Android and provide the location of the Android SDK (in my case C:\dev\android-sdk-windows) and click OK.
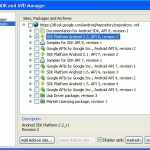
- Now select Android SDK and AVD Manager from the Window menu.
- Select available packages and select the latest version of the SDK.
- Click Installed selected and complete the installation, preferably by restarting Eclipse.
Set-up a device
The only thing left is to set-up a Android device. Of course you can use your own Android device, but a emulator is just as easy.![]()
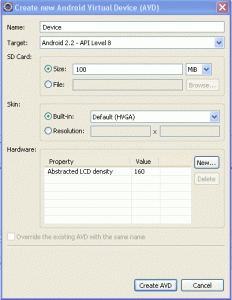
- Press the Device Manager button and click on New.
- Create the device and click Create AVD.
- Finally run the freshly created Device by selecting the device and click Start and Launch. (please be patient it’s not that fast)
Hope this helps.

