As some of you may already noticed, running Android Honeycomb application on the Android emulator, isn’t the most fun thing to do, because it’s painfully slow. Besides the start-up time (can be avoided, which I explain later), just using it is a pain. Google is planning to improve the performance, but if you can’t wait that long I’ve put together a few tips which may help improve your experience.
– Emulated memory size.
By default the Honeycomb AVD is created to emulate 256MB of RAM, my advice is to increase this significant, I’m using 1GB (1024MB).
If you’re creating the AVD for Honeycomb in Eclipse you’ll find the RAM setting in the Hardware section under “Device ram size”. If you already have an AVD you can increase the setting by finding the directory you’re AVD is in (e.g. .android/avd/honeycomb.avd), editing the emulator-user.ini file, and changing hw.ramSize to whatever you want the ram size to be in MB.
– Enable Snapshots.
Enabling snapshots on an AVD allows the emulator to start-up an AVD in the state it was in when you closed it. This means that it doesn’t have to go through the boot-up procedure each time, which will save you a reasonable chunk of time.
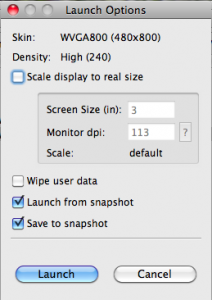
First on the initial launch make sure you select “Save to snapshot”. Get the emulator up and running and put it into the state you want. I like to have it start at the desktop (home screen) view. Now close the emulator. I found that it wasn’t very responsive when closing, so wait a bit, watch the mouse icon go to “busy” and let it write everything to disk.
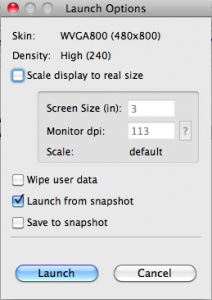
Now, launch the emulator again and this time uncheck “Save to snapshot” but make sure Launch from snapshot is chosen. Voila! The emulator launches quickly. And when you save it it shuts down quickly because it’s not saving anymore.


