After setting up your Android development environment, and Developing an Android Application it’s time to set-up a automatic Android Test environment. The steps to achieve this are:
- Choose a test technique.
- Creating a test project.
- Make the test.
- Run the test.
I will use the Android application which was developed inside my previous post.
[Update 15-03-2011] Updated to Android 2.3.3.
[Update 15-03-2011] Updated to Robotium 2.2.
Choose a test technique
There are different techniques you can use to test Android applications. The most commonly known is by way of JUnit. JUnit is used to test the technical quality of applications. But what about the testing the functional use of a application, like you would do it with Selenium for web application. For Android applications there is a similar tool for testing called Robotium. It is a UI testing tool which simulates touching, clicks, typing, and other users’ actions relevant for Android applications. In this example I will be using Robotium.
Creating a test project
- From within Eclipse select File menu, New and Other.
- Choose Android Test Project inside the Android folder.
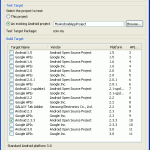
- Provide the information about the Android Test project and click Next.
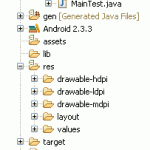
- Press Finish. You should see the following directory structure
Because I will be creating a Robotium test, I must provide the robotium-solo-2.2.jar as library.
Make the test
- From within Eclipse select File menu, New and JUnit Test Case.
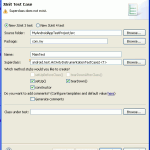
- Provide the information about the Junit Test Case and click Finish.
- Change MainTest.java to the following
import java.util.ArrayList;
import com.jayway.android.robotium.solo.Solo;
import android.app.Activity;
import android.test.ActivityInstrumentationTestCase2;
import android.widget.TextView;
public class MainTest extends ActivityInstrumentationTestCase2 {
private Solo solo;
private Activity activity;
public MainTest() {
super("com.my", Main.class);
}
@Override
protected void setUp() throws Exception {
super.setUp();
this.activity = this.getActivity();
this.solo = new Solo(getInstrumentation(), this.activity);
}
@Override
public void tearDown() throws Exception {
try {
this.solo.finalize();
} catch (Throwable e) {
e.printStackTrace();
}
this.activity.finish();
super.tearDown();
}
/**
* @throws Exception Exception
*/
public void testDisplay() throws Exception {
String text = "Congratulations";
//Enter "Congratulations" inside the EditText field.
this.solo.enterText((EditText) this.activity.findViewById(R.id.EditText01), text);
//Click on the button named "Click".
this.solo.clickOnButton("Click");
//Check to see if the given text is displayed.
assertTrue(this.solo.searchText(text));
TextView outputField = (TextView) this.activity.findViewById(R.id.TextView01);
ArrayList currentTextViews = this.solo.getCurrentTextViews(outputField);
assertFalse(currentTextViews.isEmpty());
TextView output = currentTextViews.get(0);
assertEquals(text, output.getText().toString());
}
}
Run the test
Al that is left is running the test.
- Right click MyAndroidAppTestProject.
- Select Android Junit Test within the Run-As option.
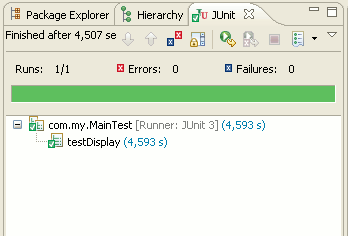
- Be patient, the emulator starts up very slow. You should get the following result
Appendix
Download source code Android.zip [16kB] and AndroidTest.zip [16kB]


AndroidManifest.xmllook like?, this causes most of the problems associated with running android j-unit test.public TestTextView(String name)butpublic TestTextView()as constructor.